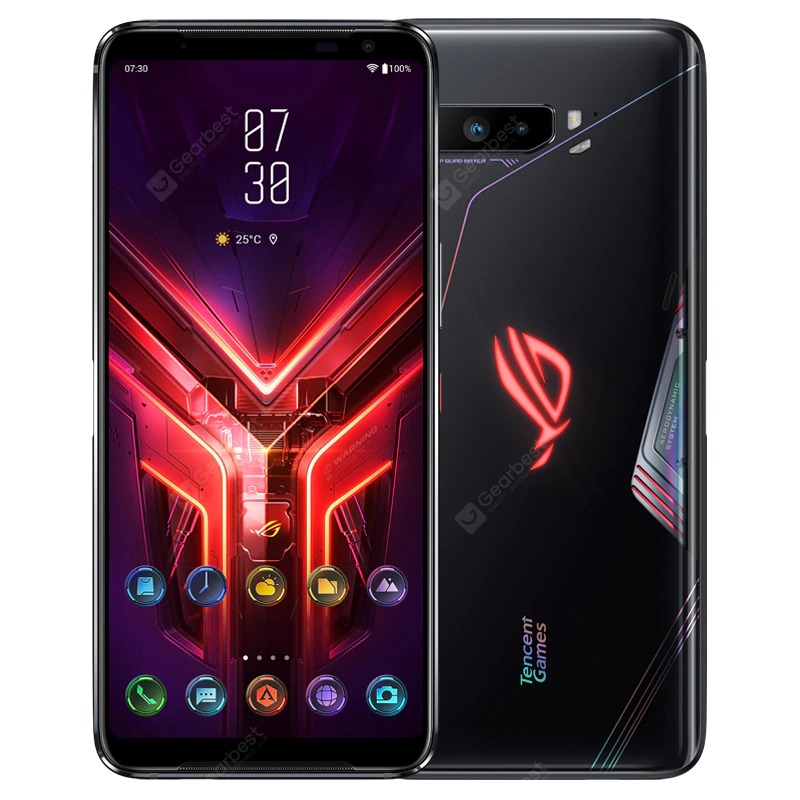
As you may have heard, the ZenFone 6 has Gorilla Glass 6 on the front and Gorilla Glass 3 on the back. Some of you may take comfort in the protection that Gorilla Glass promises, but we’re here to caution you. At the risk of preaching to the choir, we urge you to get a screen protector regardless of the Gorilla Glass protection. We’ve laid out the “why” you need a screen protector in a previous article, but now it’s time to delve into what is the best type and brand of screen protector and how to apply it in a easy, hassle free way. Preparation is key and we urge you to follow our advice if you’re waiting for your pre-0rdered ZenFone 6 to arrive.
Most of us have learned the hard way about smartphone display resilience or lack thereof. It’s easy to think that Gorilla Glass is the be-all and end-all layer of protection but it’s not. It cannot protect your display from grit and this poses a major threat. As careful as you are, getting scratches on the pristine display simply isn’t worth the risk.
The clear choice (no pun intended) in terms of screen protection is tempered glass. Aside from being easy to apply, the tempered glass is the layer that will crack or scratch in the event of a drop or ding, keeping your original display in mint condition. Don’t be tempted by non-tempered glass screen protector accessories because they are a waste of your time and will negatively affect the clarity and visibility of the ZenFone 6 display.
Tempered glass is easy to apply because it’s a thin layer of glass and it’s rigid. Some protectors are not glass and are just a flimsy plastic film. These non-tempered glass screen protectors almost always end up with bubbles or blemishes on your display and you will most certainly resort to a few choice curse words while trying to apply it.
ASUS doesn’t make an official tempered glass screen protector so you’ll have to figure this out on your own. A daunting task indeed when you consider the options. Mostly 3rd party sellers with sketchy customer reviews and suspect quality is what you’ll find. Rainbow effects, glare and incorrect sizing are all common complaints. No-name brands are mostly what you’re going to find unfortunately.
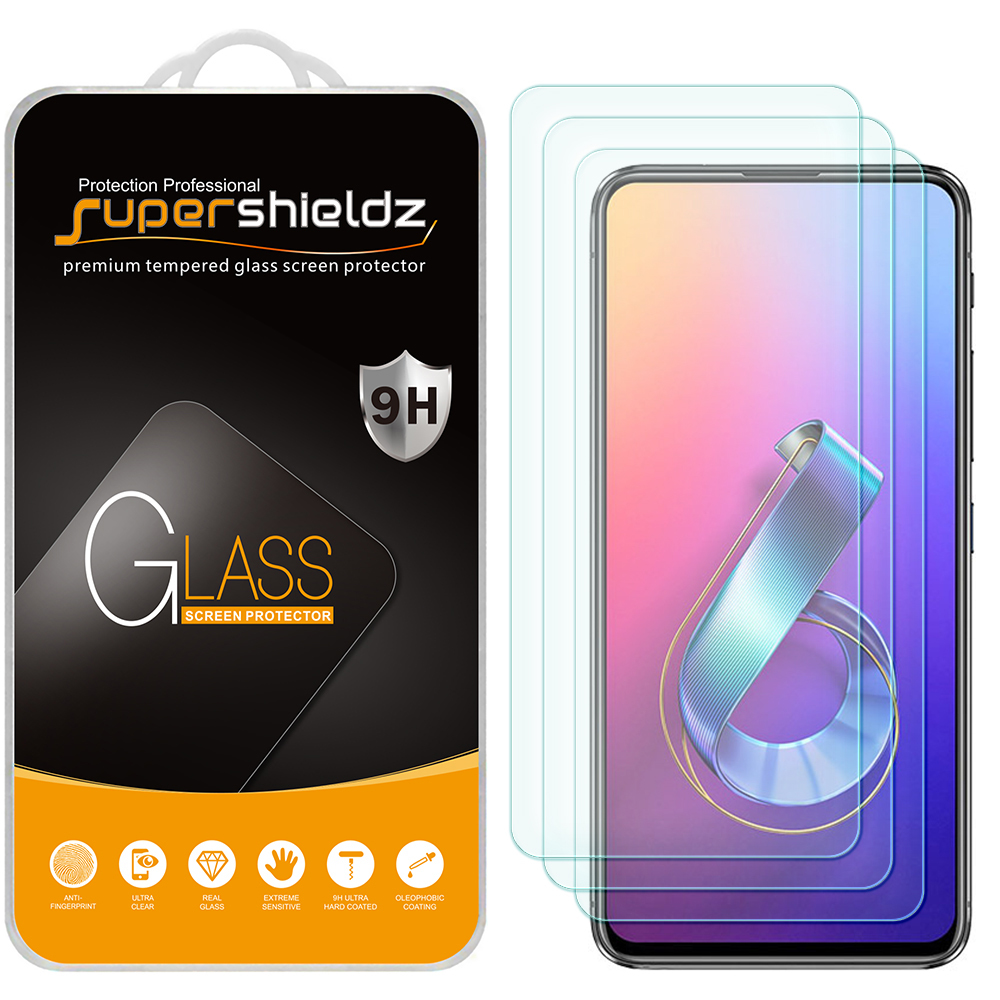
Our recommendation? Supershieldz. We contacted the company and they confirmed they are producing a ZenFone 6 tempered glass screen protector. It’s available to buy already! They are good with customer service and offer lifetime warranty. Don’t get too excited about their warranty: “Supershieldz does not cover damages caused by drops, impact or act of god/natural disasters.” You can buy either a 2-pack or a 3-pack. Getting more than one makes sense because if you crack it you will want to have a replacement on-hand rather than waiting and leaving your ZenFone 6 exposed to scratches while you wait for a new one to arrive. These are mainly sold online so you’re likely not stepping out to a store and grabbing a new one.
Phantom Glass have the best reputation but unfortunately they largely stick to Samsung, Apple and Huawei phones. Maybe if the ZenFone 6 sells enough they might consider, but don’t expect it.
Tip: Do not unbox your ZenFone 6 until you have a tempered glass screen protector on-hand. If you do unbox it, then at the very least do not remove the wrapper from the ZenFone 6.
We highly recommend that you buy the screen protector at the same time you order your ZenFone 6. You want to have the screen protector on-hand when you’re going to unbox your phone for the first time.
The reason we’re so adamant about having a screen protector on-hand is so that you can apply it the second you remove your new ZenFone 6 from the box and wrapper. Dust particles or lint will get onto your ZenFone 6 the moment you unwrap it and now you’ve created a real hassle for yourself. In addition, if the phone it out of the wrapper then you’re likely touching the display and leaving fingerprints or markings that will need to be wiped off prior to a screen protector application.
One other cautionary note. If you’re not careful during this process, you will have to expose the display to debris while you’re trying to remove debris. You may clean one spot only to find lint showing up elsewhere. This creates a stressful situation where you will be scrambling and likely swearing. This is a no-fun scenario and can be avoided by following our advice of leaving the phone in the box until you’re ready to apply the screen protector.
If lint or dust happens to get on the display during the application, you will require a d0-over. It’s very tricky to lift off a tempered glass screen protector and when you pull it up, your fingers can touch the underside. Your fingertips will compromise the adhesiveness of the contact and the screen protector may not lay flat to the glass when you re-apply it. If that happens you will always notice the screen protector in that area unfortunately and there is nothing you can do about it.
The point here is you really want to get this right the first time, but it’s not easy.
Tip: Prepare, prepare, prepare.
Have everything in place on the table. You don’t want to scramble during the application! Have the dust removal sticker (usually comes with the screen protector) so it’s super easy to grab and use. If you don’t have a dust removal sticker, prepare a bit of scotch tape instead. Wrap some around your finger and stick it to the table in case you need it. Do not get your finger tips under the tempered glass while applying it. If you do get fingers on the underside, the adhesiveness may be removed and then you will not have a good contact point along those edges. This is particularly difficult to avoid especially if you have to redo the alignment and peel the whole thing off to redo it. Hold the edges as much as possible and if you have to pry, then do so as carefully as possible. Using a fingernail is better than fingertip!
Our recommended procedure to easily apply a tempered glass screen protector:
- Prepare a place to apply the screen protector. If you have something that is non-slip to place the phone on it will make the process easier. If you have a less dusty or still-air environment, do the application there.
- Read the instructions of the tempered glass application. One side will have a temporary film/cover than you need to peel and apply that side on your phone’s display. Figure this out BEFORE you move forward. Figure out your movements once that protective film is removed. Such as moving from left to right or moving right to left. Place the items accordingly on the table. Being fast is critical to avoid lint and dust.
- Wash your hands and dry thoroughly.
- Remove the phone from the box.
- Unwrap the phone from the plastic wrapper.
- Immediately remove the protective cover from the screen protector.
- Hold the screen protector along the edge only and be sure to avoid your fingertips from touching the underside that will be in contact with the phone display.
- Line it up, starting from the top. Use both hands to help with the alignment prior to placing onto the phone. It’s tricky to get the proper alignment on the first try because you should be doing it quickly in order to avoid dust and lint from falling onto the display.
- As you lay down the screen protector it will naturally squeeze out most of the air on its own.
- Have a good look at the alignment as you first lay it down. Be extremely fast because if you need to reposition, it’s easier to lift the protector before it completely adheres. We’re talking a matter of seconds. You need to get the alignment perfect so check along the edges and top. You no longer have the concern of falling lint or dust now that the protector is on the display so you can carefully lift and readjust. Again, don’t settle for a bit of misalignment. When you put a case on later, if the screen protector is out of alignment, the case can pull/push/lift the edges of the screen protector off. This is a real hassle so spare yourself that issue and just ensure perfect placement now.
- In general it’s good to push down with a finger in the center and most finger outwards to remove air bubbles. Do this as long as you’ve confirmed your placement is perfect.
- Have a look to make sure no lint or dust got onto the screen during the application. If the protector hasn’t laid down perfectly, give it some time as it may seal itself perfectly overnight. If blemishes exist after a day then it may require some lint/dust removal unfortunately. I would first try to push out the air with my fingers before deciding to lift of the protector. Air is no problem to deal with. Is the issue air or debris?
- Take a deep breath and breath normally. It’s over. Your phone now has a perfect layer of glass protecting the Gorilla Glass underneath. Yes, that sounds funny to say.